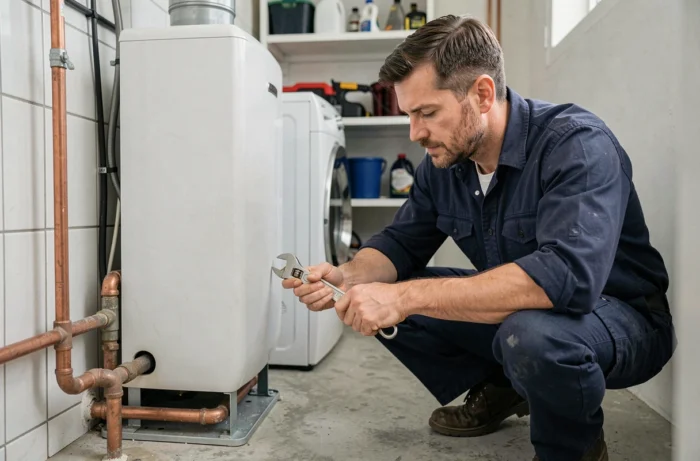
An ion-exchange resin water softener is not connected like a household appliance. The choice of connection point, bypass sizing and residual hardness setting all affect both equipment protection and the sanitary quality of the water supplied. Installing a water softener at home means getting these parameters right before touching the plumbing.
Bypass, backflow preventer and unsoftened water tap: what the installer needs to plan for
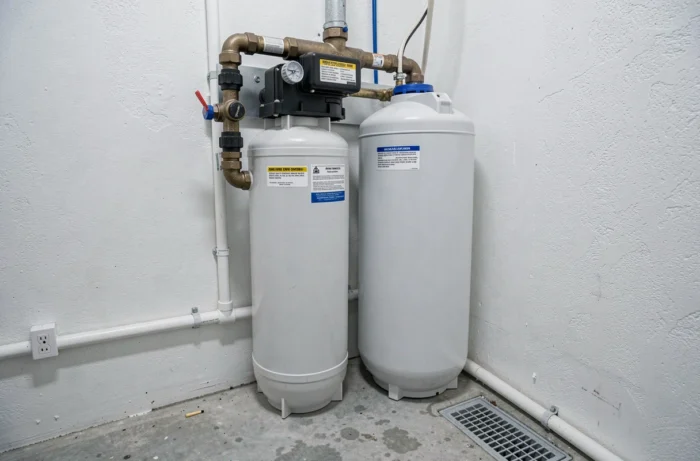
A bypass is not an optional convenience. It allows the water softener to be isolated for maintenance or in the event of a breakdown while keeping the water supply running. A three-valve bypass (inlet, outlet and bypass line) remains the most reliable setup for switching over without interrupting the supply.
Cold water intended for drinking must not pass through the water softener. A connection upstream of the unit supplies the kitchen tap directly with untreated water. We find that this connection is often omitted in installations without a project manager, even though it is essential to ensuring the indoor plumbing meets sanitary requirements.
Regulations also require a device to prevent water from flowing back into the public water supply (a backflow preventer or anti-pollution check valve). To install a water softener at home in compliance with the rules, check that the connection meets the requirements of Article R. 1321-57 of the Public Health Code.
Setting residual hardness: why aiming for zero limescale is a mistake
A poorly adjusted water softener does more than simply underperform: it can damage the plumbing. Water that is softened too much becomes corrosive to metal pipes, encourages copper and lead to dissolve, and accelerates corrosion of soldered joints.
The water softener valve setting must take local water hardness into account. There is no technical reason for domestic use to lower the hardness below 8 to 10 °f at the unit outlet. Regional health agencies (ARS) warn against excessive treatment that removes all the calcium without any compensating benefit.
Before commissioning, ask the installer what residual TH they will set and how they calculated it. A vague answer is a warning sign. The settings depend on the incoming TH, the volume of the resin tank and the household’s peak flow rate.
Water softener location and connection to the household water supply
The water softener should be installed downstream of the water meter and upstream of the water heater, on the main supply line. The location must meet three conditions: protection from frost, access to a drain (for salt-laden regeneration water) and enough space to handle the salt tank and valve.
- Water pressure: check that it falls within the range accepted by the unit, generally between 1.5 and 6 bar. A pressure-reducing valve may be needed upstream.
- Inlet and outlet pipe diameter: undersized pipes cause pressure losses and reduce the flow available at the most distant taps.
- Overflow and brine drain connection: water flowing back into the salt tank during regeneration indicates a slope or blockage problem in the drain hose.
- Grounding the unit if the control valve is motorized: electrically powered models require a compliant outlet nearby.
Hydraulic-valve water softeners (such as Kinetico models) operate without electricity and regenerate on demand. This simplifies the connection but does not eliminate the need for a bypass or backflow preventer.
Connection steps
Shut off the main water supply and drain the system by opening the lowest taps. Cut the incoming pipe at the planned location and install the connection kit (hoses, fittings and bypass). Check for leaks under pressure before closing the drain taps.
Fill the salt tank, start a manual regeneration cycle and check the outlet TH using a test kit. The unit is not ready for use until this measurement has been taken.
Sanitary maintenance and managing periods of absence
Maintenance involves more than just filling the salt tank. Ion-exchange resin can provide a breeding ground for bacteria if it is not regenerated regularly. Periodic resin disinfection (using a suitable product, not bleach) is part of the recommended maintenance routine.
Before installation, ask the installer to specify how often the unit should be disinfected, what type of salt to use and which tasks are the user’s responsibility versus the professional’s. A maintenance contract should set out these details in writing.
Second homes and unoccupied properties
Stagnant water in a softened-water system presents a specific health risk. If water is not drawn for several weeks, the residual disinfectant in the pipes dissipates, and unused resin can become a breeding ground for bacteria.
- Shut off the water supply and switch the bypass to bypass mode before any extended absence.
- On your return, flush the entire system (both hot and cold water) by running each tap for several minutes.
- Run a manual regeneration cycle before putting the water softener back into service.
A water softener that has been inactive for more than two weeks needs to be fully recommissioned. Skipping this step means supplying degraded water throughout the home.

Correct sizing, residual TH settings and separating the softened-water circuit from the drinking-water supply are the three technical decisions that distinguish a reliable installation from a makeshift setup. Each should be agreed on before the quote is signed, not on installation day.